Setting up a WooCommerce store involves several steps, from selecting a hosting provider to configuring products and payment methods. Here’s a general guide to help you get started:
1. Domain and Hosting:
- Choose a domain name that reflects your brand and is easy to remember.
- Select a reliable hosting provider that meets the technical requirements for running WooCommerce. WordPress.org recommends providers like Bluehost, SiteGround, and WP Engine.
2. Install WordPress:
- Most hosting providers offer easy one-click installations for WordPress. Follow the instructions provided by your hosting provider to set up WordPress on your domain.
3. Install WooCommerce:
- From your WordPress dashboard, navigate to “Plugins” > “Add New.”
- Search for “WooCommerce” and click “Install Now.” After installation, click “Activate.”
4. Initial Setup:
- WooCommerce will guide you through the setup process, including configuring currency, location, payment methods, shipping options, and taxes.
5. Configure General Settings:
- Go to “WooCommerce” > “Settings” to configure various aspects of your store, such as:
- General: Store location, selling locations, and currency.
- Products: Set up how products are displayed and manage inventory.
- Shipping: Configure shipping zones, methods, and rates.
- Payments: Choose payment gateways (e.g., PayPal, Stripe) and configure settings.
- Accounts and Privacy: Set customer account options and privacy settings.
- Emails: Customize email notifications sent to customers.
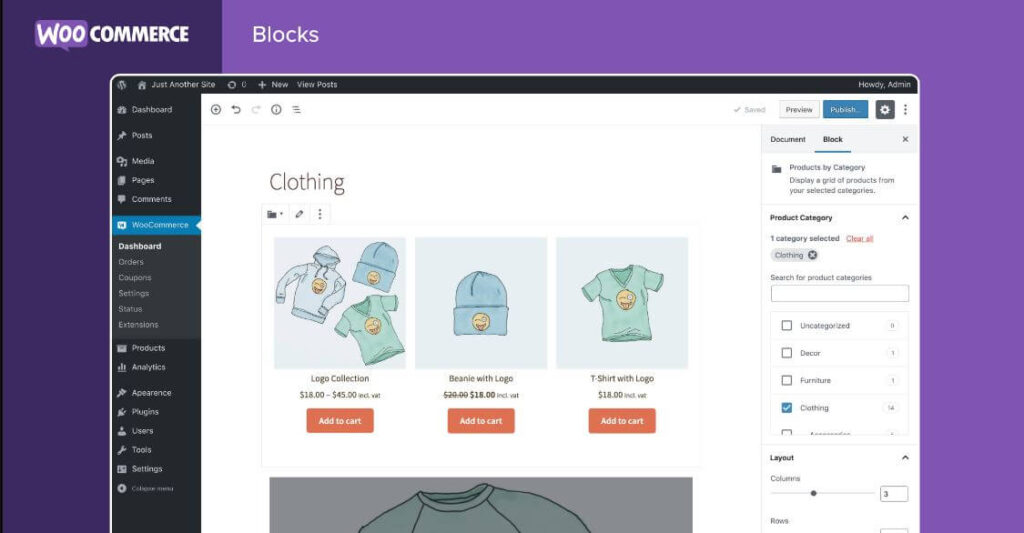
6. Add Products:
- Go to “Products” > “Add New” to create your products.
- Enter product details such as title, description, price, images, and categories.
- Configure inventory settings, variations (if applicable), and shipping information.
7. Customize Store Design:
- Choose a WordPress theme that is compatible with WooCommerce. You can find WooCommerce-specific themes or use a general WordPress theme and customize it.
- Customize the design by going to “Appearance” > “Customize.” You can change colors, fonts, layout, and more.
8. Install Essential Plugins:
- WooCommerce offers extensions (plugins) that add functionality to your store. For example, you might want to install a plugin for advanced shipping options, SEO optimization, analytics, and more.
9. Test Your Store:
- Before launching, thoroughly test your store’s functionality. Test product ordering, payment processing, and other essential features.
10. Set Up Legal Pages:
- Create pages for essential legal information such as a Privacy Policy, Terms and Conditions, and Refund Policy. You can use plugins or templates to help generate these pages.
11. Launch Your Store:
- Once you’re satisfied with the setup and testing, you can launch your WooCommerce store to the public.
Remember that setting up and managing an online store is an ongoing process. You’ll need to regularly update your products, optimize your website for performance and SEO, analyze sales data, and adjust your strategies based on customer feedback and market trends.